
Mezmo (formerly LogDNA) is a popular tools for logging data. It can be used to ingest, index, aggregate, visualize log data and provide alerts to the relevant teams when an unexpected event occurs.
Kubernetes Clusters are one of the many places where the Mezmo agent can be run. The Mezmo logging agent can read the log data from the host where it’s installed and upload the log data to Mezmo via a secure HTTPS connection.
This blog covers the steps to deploy a Mezmo agent to your Kubernetes clusters using Argonaut. Find out more about it and other observability tools in our recent blog.
Pre-requisites
- Mezmo account
- LogDNA ingestion key
- Argonaut account
- Argonaut environment
- Kubernetes cluster v1.13 and above & Helm 3+ and above (Argonaut maintains the latest stable versions)
Setup Library App in Argonaut
Add an application
Click on the
Application +and theFrom Librarybutton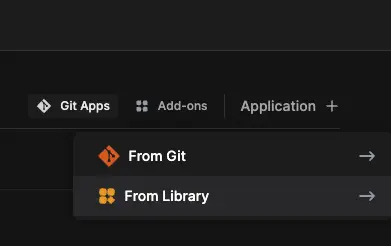
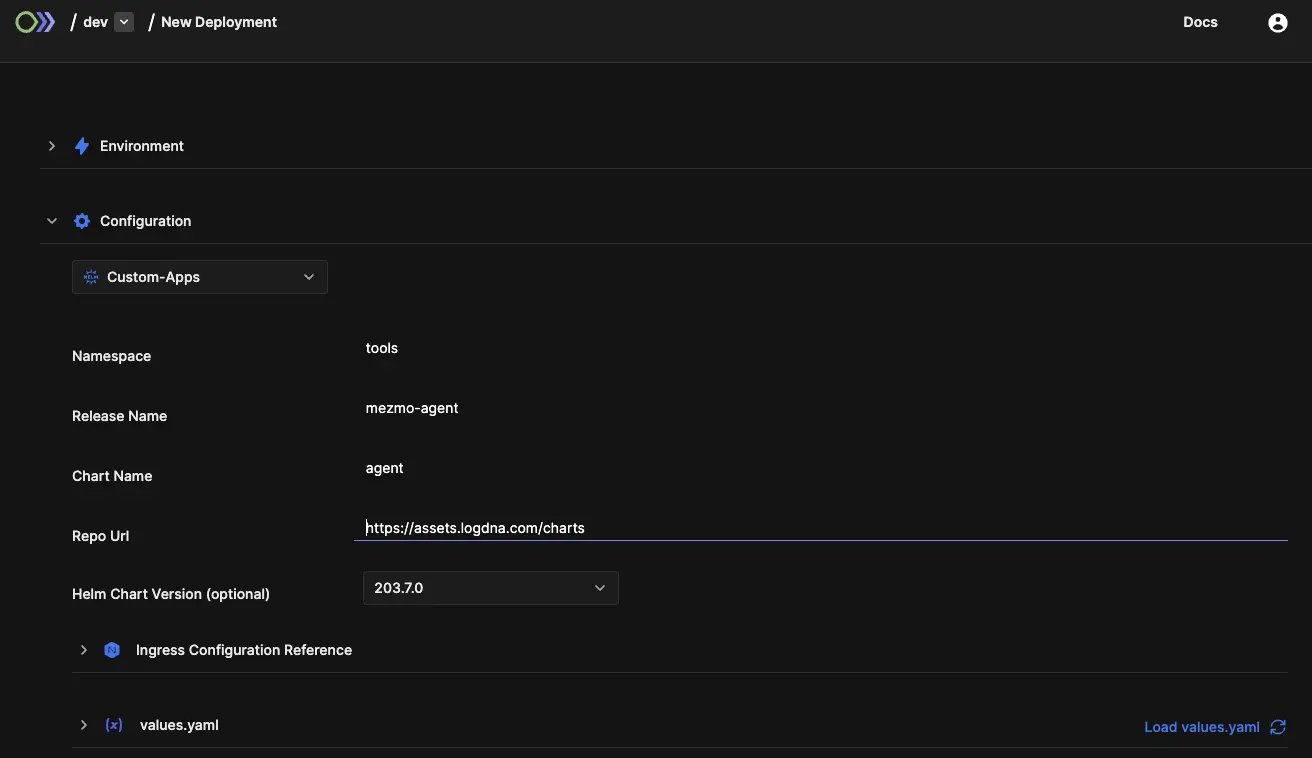
Choose
Custom-Appsunder configurationEnsure the selected environment is correct, then select the cluster you want to deploy the agent to.
Set the namespace you want to deploy the ingestion agent to be
tools.Set the release name of the application as
mezmo-agent.Set the chart name as
agent.Set the chart repository as
https://assets.logdna.com/charts.Leave the chart version blank. It will be automatically populated to the latest version.
Click on load
values.yamlYou will now see all the relevant values for the deployment.
Here, add your Mezmo ingestion key and tags like
production,staging, etc. You can also modify the resource requests and limits to suit your needs. You can find an ingestion key at the top of your Add a Log Source page.1logdna: 2 key: <logdna-ingestion-key> 3 tags: <tags> 4Click on the
Deploybutton to deploy the application. This could take up to 2 minutes.
Wrapping up
Once installed, you should see the mezmo-agent in your environment’s Add-ons section.

You can now view logs, deployment history, and manage configurations by selecting the app and choosing the respective tab.
Find more info on installing custom apps using helm charts like setting up Docusaurus using Argonaut in under 5 minutes.
