Migrate Cronjobs
Move your scheduled tasks and jobs from Heroku Scheduler to Argonaut.
You can easily create and schedule cronjobs on Argonaut using any of your GitHub or GitLab repositories. These are one of the several service types for apps that we support in Argonaut.
💡 Cronjobs are scheduled tasks that automatically execute commands or scripts at specified intervals on a server or computer system. They are particularly useful for automating routine tasks, such as data backup, sending notifications, system maintenance, and report generation.
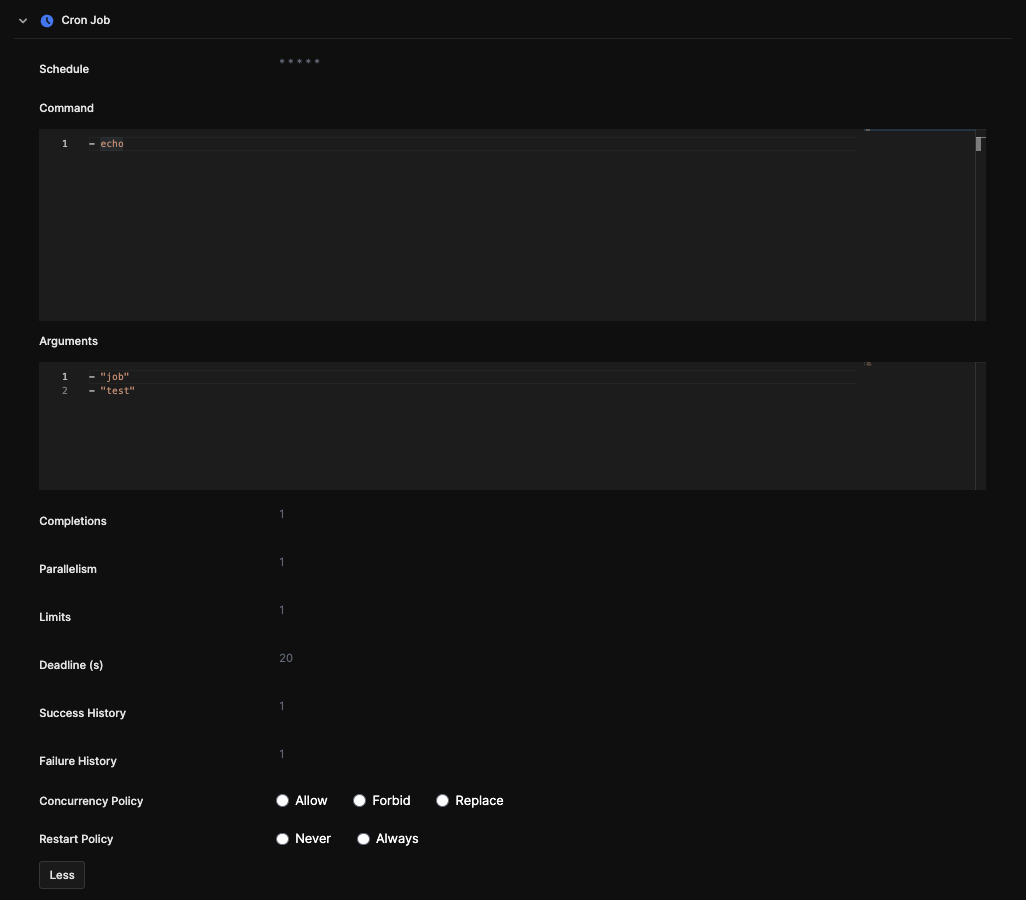
Additionally, users can set the schedule, command, and argument directly using the Argonaut UI.
Each cron job watches a file path in the repo. Thus, when there are changes to your repo, Argonaut automatically builds a new version of your code for the next scheduled run of your cron job.
In Heroku, the Scheduler is an add-on, and there are chances of tasks being skipped or running twice. Heroku’s Scheduler only supports three recurring frequencies: once every 10 minutes, once a day, and once a month.
In Argonaut, we follow the Kubernetes cron job spec, which provides more customizability. Each cronjob and job specified runs in a separate container pod which is initialized at the scheduled time and stops once it reaches the “complete” state.
Moving from Heroku to Argonaut
In Heroku, you might have your Cronjobs set as a script in your bin/ directory.
Ensure you copy the required scripts to your Git source connected to Argonaut, and then you can create Cronjobs that execute it as per the specified schedule.
Follow these simple steps:
- Click on the
Applicationstab from the sidebar - Select
Application +, and give it a name - Select
Pipeline +, and give it a name - Choose the Git repo and branch where your scripts exist
- You will now see two stages, build and deploy
💡 The build and deploy steps work independently, and the pipeline binds them.
- If your script requires additional build time variables, you can add them in the build stage
- Use default values for other items in the build stage
- Select the deploy stage
- Select Service type as
Cronjob - Set your schedule in standard Kubernetes Cronjob format
- Set your additional commands, arguments, and other advanced parameters
- Click on Create Pipeline
- Once the pipeline is saved, the Kubernetes cluster will automatically execute the specified script/file based on the schedule specified
- Once this is done, no further changes or triggers are required in the pipeline
💡 Note: Once you save the pipeline and set the deploy step to automatic (▶️), your pipelines are triggered on git pushes to the branch. This automatically reruns the build step and deploys with the new image. When your cronjob is executed by your kubernetes cluster, the existing build image is used.
You can check your cronjob using this kubectl command:
kubectl get cronjob <cronjob-name>.